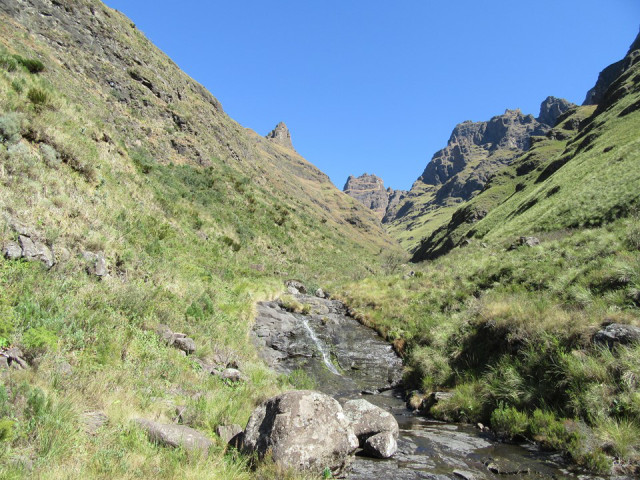
On Saturday, Carl and I went up Rhino S Route, in the Southern Drakensberg, South Africa. Rhino Peak is a 3056m peak, traditionally hiked up, but does include a few rock climbing routes. The S Route and Eastern Arete Route are both considered classics.
The route is described as 6 pitches, which go at (South African Trad Grades) E3, F1, C, D, C, F1 per the latest guidebook, or F1, F1, E, E, B and F1 per the original route description. Seeing as I am relatively inexperienced at rock climbing, Carl agreed to lead all the difficult pitches, and I would see how I felt about leading the 3 easy ones.
We started walking just before 5AM, and sat in Pillar Cave Annex waiting for it to get light enough to head off.

We left the trail at the same spot as one would use for Eastern Arete, but then turning left instead of right where you start traversing. In retrospect, I would stay on the trail for a while longer and hit the gully below the climb directly. Nonetheless, our line wasn't particularly inefficient.

We scrambled to a small cubbyhole to have a snack before commencing the first scramble. This was harder and looser than anticipated, so Carl trailed a rope up for me. The scramble was from steep ground above a large cliff, so I was relieved to have the rope. First move of the scramble, my hold broke and I fell. Second try, and another hold broke, a good start!


Anyway, once we were through the supposedly easy scrambles, we finally hit the first pitch. By this point, backing off the route is already basically impossible, so we were relieved that the first pitch didn't look particularly bad.


Carl lead and got up fairly quickly. Once through the open book, it is a steep exposed walk to the stance. We had about 4m of rope to spare (using 50m ropes, I guess 60m ropes should be used on this route). I got through the crux relatively quickly (all free climbing), but most certainly wouldn't have been comfortable on lead. This pitch is probably the least exposed of the entire route.


Gearing up for pitch 1
itch 2 was odd. The RD made it very clear where the pitch was, but we both were a bit confused at the sequence. The only gear through the crux was about 1m off the ground, and had to be extended as it was off route, so it functioned more as a backup for the belay rather than actual gear. Carl got through the sequence as I watched trying to figure out how on earth I would pull this sequence off.

Stance at the top of pitch 1

Carl leading pitch 2
After trying the first move a few times, I got my prussik out and used it as a aid handhold. Even with this, the sequence was tricky and I was very happy that I didn't have to lead it (I'm actually not certain that I would have been able to lead it). The first useful gear on the crux was right at the top, and made another handy aid point for me. Once again, once through, you walk/scramble on exposed ground to the stance, which is also close to 50m from the previous stance.
Seeing as I wasn't too psyched out, I decided to lead pitch 3. In retrospect, I should have done this in trail shoes, as most of the pitch is on grass and slippery/loose rock, so the fact that climbing shoes don't grip well on grass didn't help! The first placement was about 4m in, and the next one was almost 40m in. So, just to settle my nerves, I put a sling around a bush on this section, knowing fully well that it wouldn't do anything if I did actually fall. Eventually, as I ran out of rope, I found 3 placements, so I set up my stance 4m from where it was supposed to be. Observations on my first proper Berg lead (unless you count free soloing the cliff on Injisuthi Pass):
- When you are past 30m, even without rope drag due to there being no gear, the weight of pulling the rope up adds a massive amount of effort.
- Even though the moves were easy, this lead isn't trivial, a fall would be serious and is possible as the rock isn't always good and is often covered in sand.
- C grade means the moves are easy, not that the pitch is easy. Climbing is a head game, and looking down and seeing more than 20m between you and your last meaningful piece is actually rather intimidating, even if the moves are so easy that you shouldn't fall (if the rock holds).
- When a pitch is that easy, but that long, your seconder basically running up the route gives you a very sore arm as you belay them!

While pitch 3 was easy, the gear was very minimal. Notice where my last gear was in this shot!

Anyway, so Carl lead pitch 4, which is the famous Knife Ridge Pitch. The crux move is easy, but with a relatively small foothold (admittedly big enough to get more than a third of your shoe on) above a massive drop, and the next gear was quite far ahead, so I would have taken a big swing if I came off. Fortunately the pitch was shorter than the proceeding 3 and thus Carl made it to the stance without running out of rope, so we were back to having the correct stances.

Preparing to leave the stance and start pitch 4

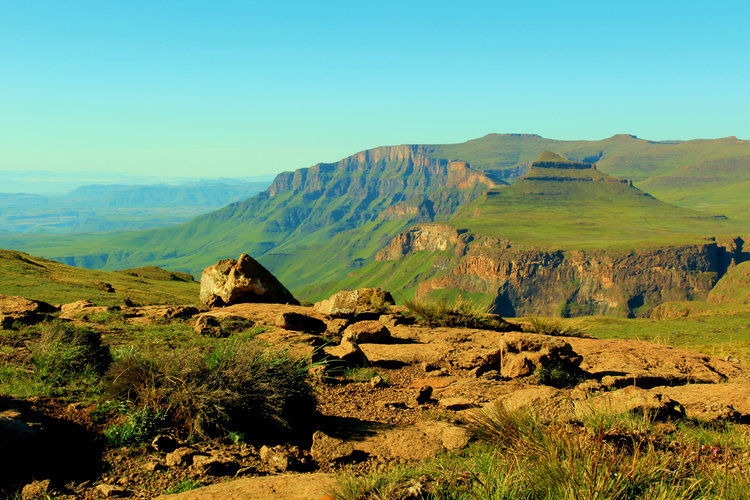
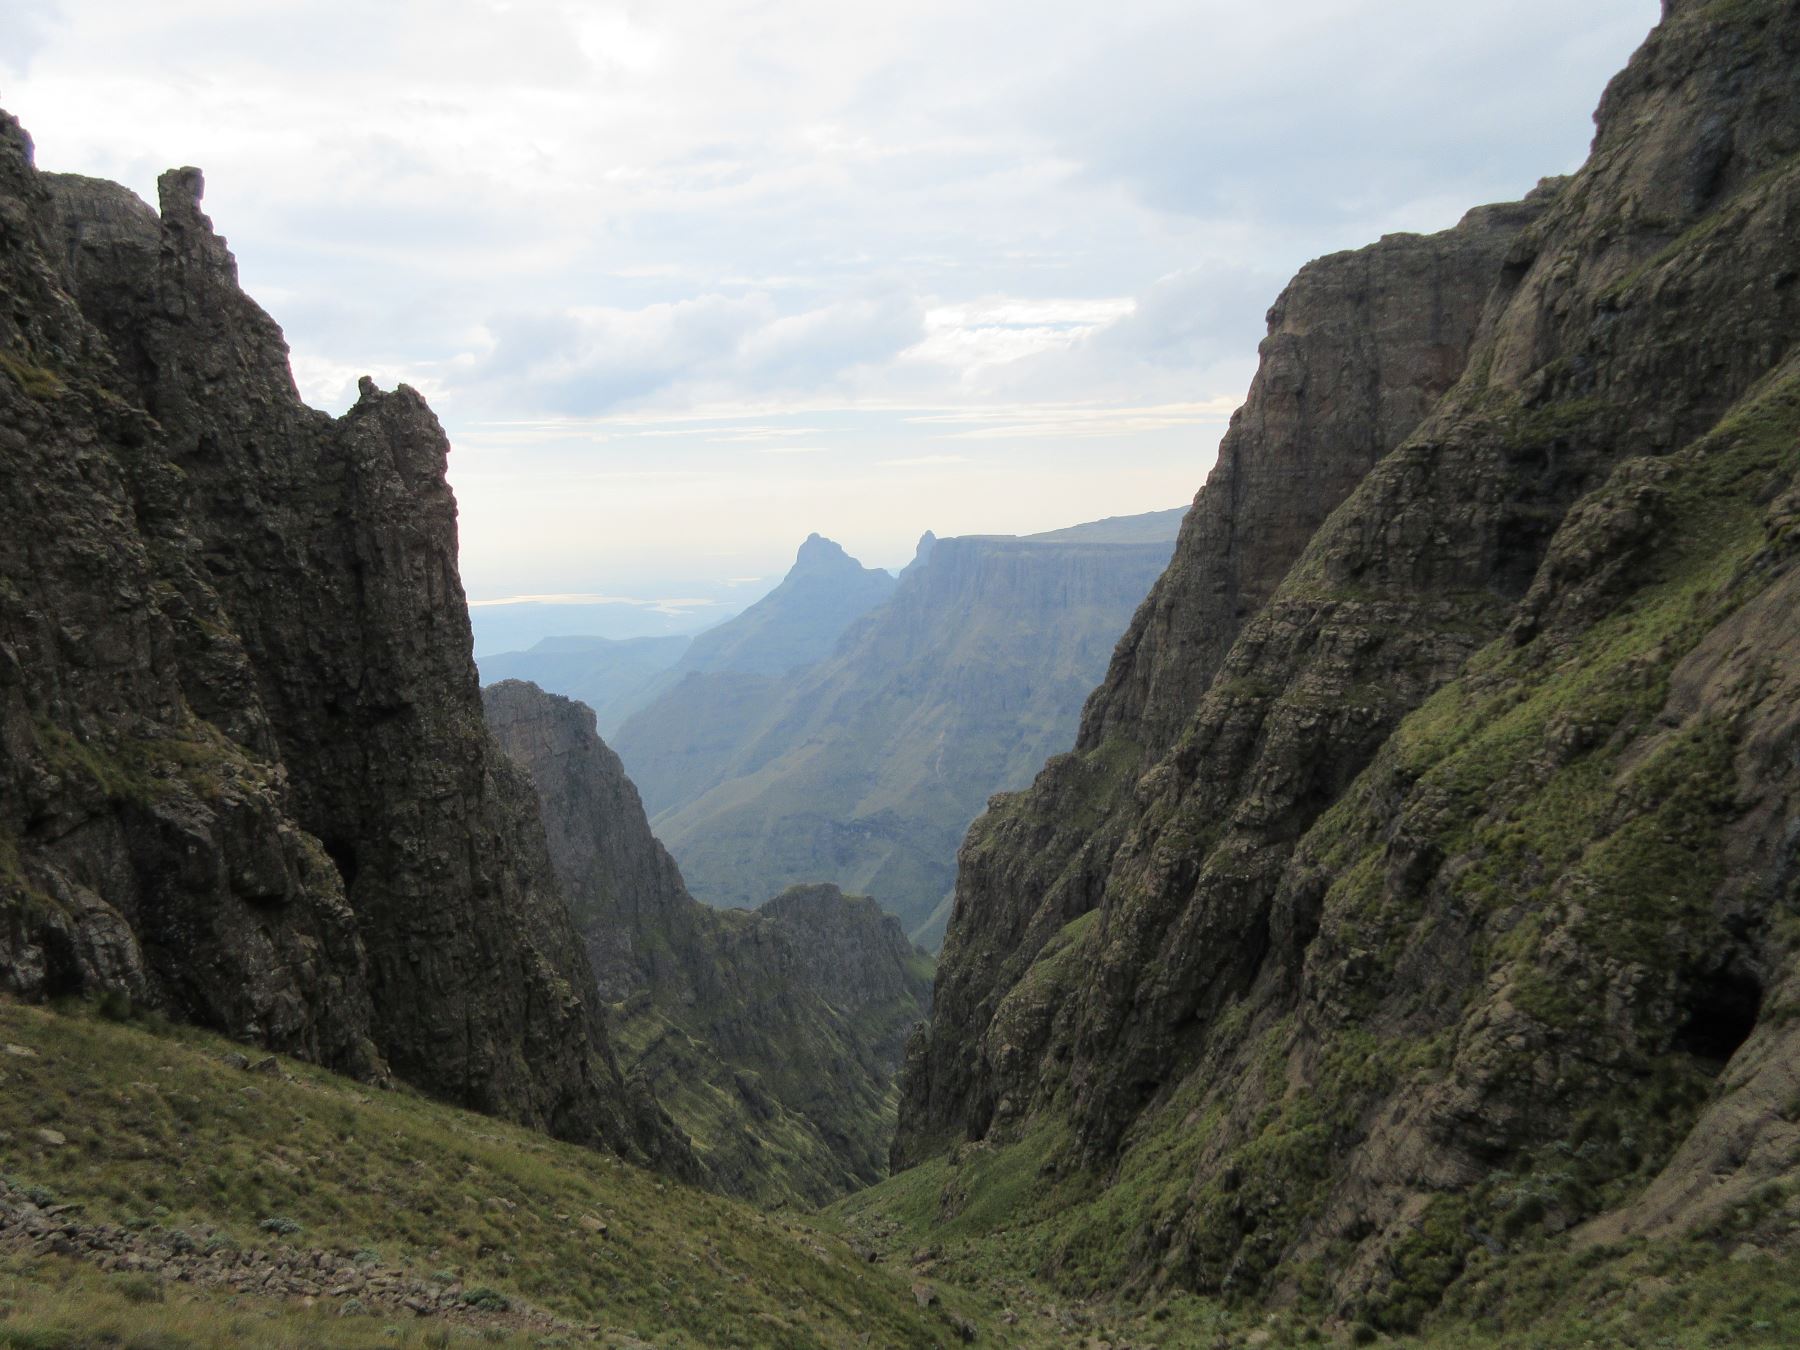
The great south face of Rhino
Pitch 5 was probably the part I found most scary. In retrospect it shouldn't have been, but a combo of wind and poor line planning on my part almost ended really badly. So the RD says go over the block above the stance. Carl decided to go around rather and avoid having to downclimb on the other side. This pitch was another full rope length, and as soon as he had taken in the slack, I realised that I couldn't unclip the piton on top of the large boulder, and he couldn't hear me shouting "slack". So I took out what I could, and left the sling and biners in place. I then started around the corner, but stayed too low. Upon removing the piece Carl used to protect the move, I realised that I couldn't see another piece in the next section, so I wasn't sure where the next gear was. I had also stayed too low, but had to go back 1m to get a bit higher, and Carl couldn't hear me shouting "slack" in the wind.
After a few minutes of trying to get slack, I realised that I had to try and do the harder lower move, and if I fell, at least every bit of rope Carl took in would mean a slightly shorter fall. By the time I was doing the move, I had come to terms with the fact that I would fall, I would swing into that cliff and probably have a broken leg, or worse. But there was nothing I could do, I couldn't communicate with Carl, and I couldn't aid the move, so I just had to do it, slowly and carefully.


Aside from the wind, weather was perfect!
Somehow I stuck the move, and looked back to realise how easy walking over the boulder would have been! I proceeded to walk to the stance and realised that there wasn't a single piece of gear on the rope between where I almost came off and the next stance, Carl and I had a good laugh about this when I told him why I took so long. Sitting at my computer typing this, I can't help but think how lame this must sound, couldn't have been that bad, it was only a C pitch. Nonetheless, I rate this pitch is actually easier to lead than to second, but do go over the top, not around!
Carl went back to go and retrieve the sling, and I had to appreciate why he couldn't feel me tugging, even without gear, the rope drag on this pitch was really bad due to the ridges along the pitch that the rope goes over. When he emerged over the ridge on the way back, he must have been holding 25m of slack that I hadn't taken in, even though the rope felt tight. So basically: pitch 5 is really easy if you take the right line, but don't expect any gear, and the rope is mostly for show. Definitely a pitch for hiking shoes, not climbing shoes. And in retrospect, by far the easiest part of the route (if you go over the boulder, that is).
Pitch 6 (the crux pitch) looked fairly short from below, and was the first pitch where the stance didn't feel like the leader would pull you off the mountain if your belay station didn't hold the fall. We stopped for something to eat and drink before Carl started up the pitch. Because the spot wasn't exposed, I only anchored myself in via the piton at shoulder height. This pitch is bypassable, but is supposed to be the best pitch of the climb. Well, the bottom of it is predominantly loose rock, so I suspect they were referring to the crux sequence. Fortunately getting to the "welcome piton" is fairly easy, and the crux sequence does have some gear. Carl got up it relatively easily, and for once we had about half the rope left over when he got to the top of a pitch.
I got through the bottom section easily enough, but annoyingly dropped the draw that Carl had placed on the "welcome piton", and was not up for descending to recover it (especially since it was getting late). I was struggling with the crux move, so I got out the old prussik and attached it to left rope to get myself an aid handhold. Once through this section, I managed to free climb the rest of the crux sequence, which requires moving right and then taking a staircase of holds back left.
We were both very happy to be up, but soon realised that the first of the two supposedly easy scrambles was a choice between a difficult foot-jam move, or a very exposed easier move. Carl pulled my pack up and placed a cam to give me some protection on the exposed move. While doing the move, I got some gear on my gear loop stuck in a crack, which resulted in me being stuck in a rather uncomfortable position for what felt like a really long time. When I got free, we kept going, the top scramble was considerably easier.

We walked up to the summit, got the obligatory summit selfie just after 4PM. It had taken much longer than planned, but one has to account for the fact that, despite having done rock climbing for about 6 years now, I still haven't done much and am relatively inexperienced. Also, despite the fact that most of my climbing has been in the Drakensberg, this was only the 6th route I have completed, and by far the hardest and longest.


We walked out via Mashai Pass, and arrived back at the camp around 9PM, so not express pace by any means, but heavy climbing packs plus being tired after a long day does not equate to a fast time.
Overall I rate the route is spectacular, but also very exposed and the possibility of it going wrong is there. You also can't back off the route, so not a wise route for beginners.
Thanks Carl for taking me along, it was an awesome day out!
 The best day hiking snacks


 About the Mountain Backpackers Club


 e starts from behind the wooden hut where you sign in and you head along the Giant's Cup trail path which is uphill for the next four kilometers and 400m in elevation gain. It's then a gentle uphill for the next 700m with Langalibalele mountain on your right.


 We hiked down a steep hill to Shelly beach and on to Mbotyi to meet our taxi to Magwa Falls which is the second highest in South Africa at 144 metres and higher than Victoria Falls in Zimbabwe.


")


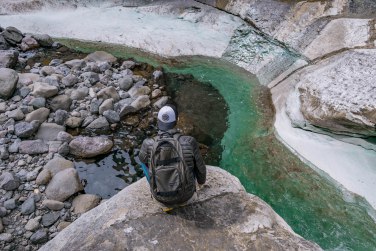
 Indigenous forest at Injisuthi


 MALEKHALONYANE CHALET DAY ONE: 14 km Alt: 1591m
 MAKHULONG CHALET DAY TWO: 20 km Alt: 1560m
 MABOLOKA CHALET DAY THREE: 14 km Alt: 1663m
 MADLANGALA CHALET DAY FOUR: 13 km Alt: 1685m


 The hike took us about 4 and a half hours in total, which included our lunch time.


")


 From the Highmoor Reserve car park head Northwest towards a gate and turn right at the sign. After 250m going downhill cross the stream over the wooden bridge and after another 300m on after the stream crossing take the path to the left (the right leads to the small Kamloops Dam wall).
